🌿 Site Preparation for Wildflower Plantings
Share
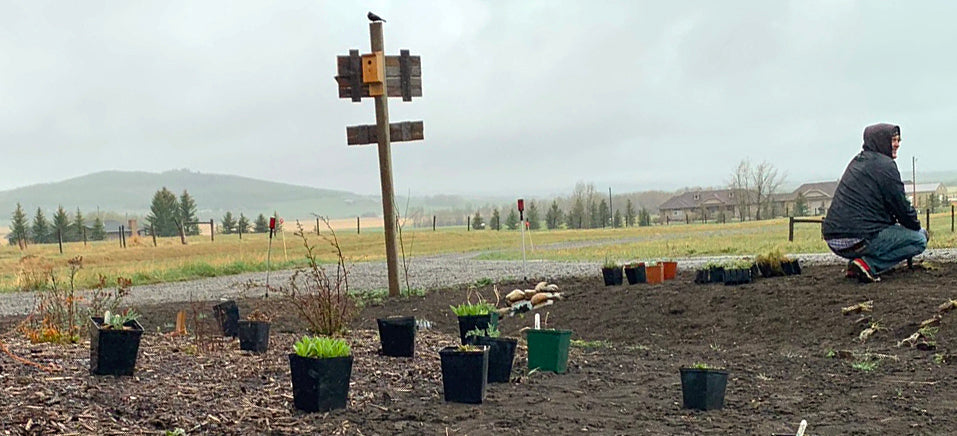
Tips for large plantings and naturalized landscapes
If you're planting or seeding wildflowers into a confined or small garden, we recommend reading Wildflowers in Small Spaces. The information below is tailored for larger plantings and naturalization projects, especially in areas currently occupied by perennial weeds, invasive grasses, or similar vegetation.
Why Site Prep Matters
Site preparation is one of the most important steps in successfully establishing a wildflower garden. Taking time up front to properly prepare the area will save you time and money later by reducing weed pressure and improving your wildflowers' ability to establish.
That said, it’s not always possible—or necessary—to create perfect conditions. Understanding what you’re aiming to achieve will help you decide how much preparation is needed for your particular project.
- Large-scale projects that involve time and investment deserve extra care and attention.
- If you're only planting a few plugs in a small space, you may not need to go to the same lengths.
Plugs have an advantage over seeds, as they’re less vulnerable to competition from weed seedlings in the soil.
Step 1: Remove Existing Vegetation
Established weeds and grasses already have a head start in the competition for light, moisture, and nutrients. If your site is full of well-rooted perennials or turf grasses, it may take an entire growing season to clear the area thoroughly.
Here are several effective methods for removing vegetation:
Smothering (Chemical-Free)
Smothering is simple and effective but requires a full growing season or more to be successful.
- Use black plastic, old carpet, plywood, cardboard, or a thick layer of mulch—anything that completely blocks sunlight.
- Black plastic works fastest by heating the soil in addition to blocking light.
Cultivation (Chemical-Free)
Cultivation can be very effective, but perennial weeds and rhizomatous grasses may require consistent effort over an entire season.
- Use tools like pitchforks, rototillers, sod cutters, plows, discs, or harrows—depending on your site size.
- Begin cultivation in spring and repeat every 10–14 days, digging to a depth of 4–5".
- This cycle allows perennials and rhizomes to re-sprout, weakening them with each pass.
Continue until no new growth appears.
Herbicide (Use Judiciously)
In some cases, herbicide may be the only realistic option for dealing with aggressive, deeply rooted species.
- Use herbicide as part of a short-term, strategic plan—not as a long-term maintenance solution.
- Always follow label instructions carefully and allow appropriate time before planting.
- Always follow up by seeding or planting the sprayed area with desirable species to prevent it from becoming a problem spot again.
Step 2: Address the Seed Bank
Even after you've cleared the site, the soil still contains dormant weed seeds. Every time the soil is disturbed, some are brought to the surface and will germinate.
Here are a few strategies to reduce the seed bank:
- Chemical-Free Till Method: Till the soil to a depth of about 1" a week after the first good rain, which triggers weed seed germination. This kills sprouting weeds before they emerge.
- Solarization: After clearing the site, water the soil and cover it tightly with clear plastic during the hottest part of summer. Leave it in place for 4–6 weeks to trap heat and kill weed seeds near the surface. This method works best in full sun.
-
Herbicide Method: Allow weeds to grow to about 2–3 inches, then apply herbicide.
→ After 10 days, do a very shallow tilling (no deeper than 1") to remove the surface layer of weed seedlings without exposing more buried seed.
These methods work best in early spring, especially when used after one of the vegetation-clearing techniques above. Seeding or planting immediately after your final prep gives your wildflowers a crucial head start.
Why It’s Worth the Work
Site preparation is half the job—and doing it well will dramatically improve your results. Existing vegetation, whether it's turf, pasture, or weeds, competes directly with wildflowers for space and resources. Poor prep can delay or prevent establishment.
But once your wildflowers take hold, they’ll reward you with years of color, fragrance, habitat, and low-maintenance beauty. It’s an investment that pays off in more ways than one.
Give your wildflowers the space they need to thrive—and they’ll return the favor.